
Restoring Vintage Lamps: Easy Cleaning & Rewiring Guide
Restoring Vintage Lamps: Cleaning and Rewiring Made Easy
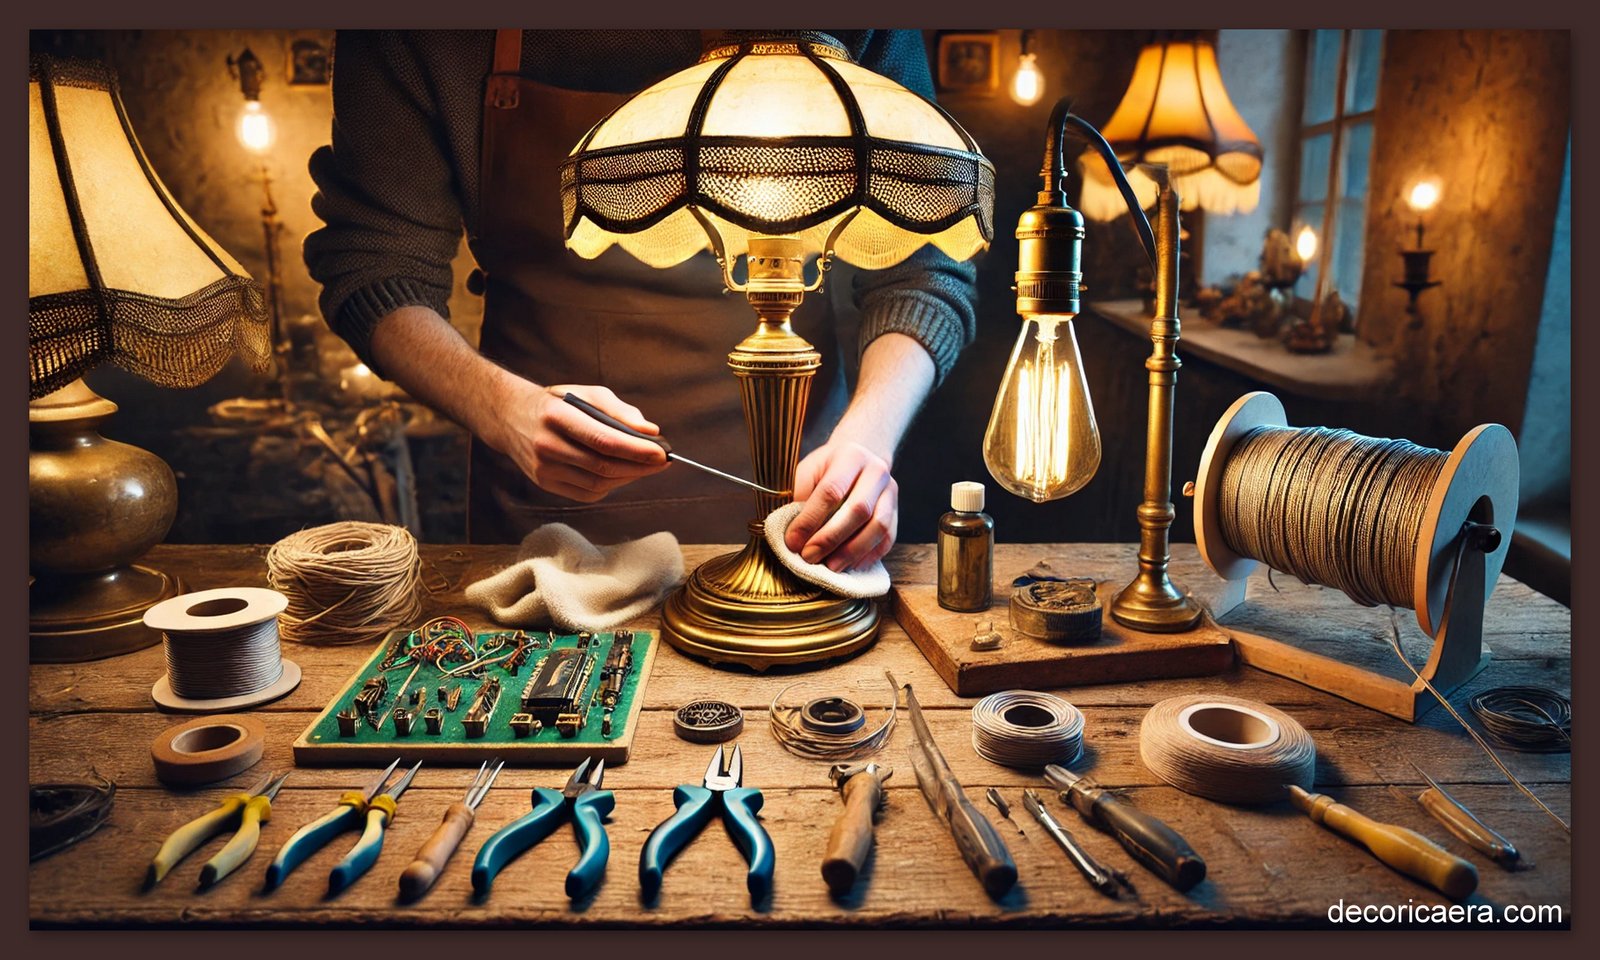
Vintage lamps add charm, history, and personality to any space. Whether you've found a beautiful old lamp at a flea market or inherited a family heirloom, restoring it can be both a fun and rewarding project. Properly cleaning and rewiring vintage lamps ensures they are safe, functional, and aesthetically pleasing.
In this guide, we’ll walk you through the steps to clean, rewire, and restore vintage lamps easily—even if you're a beginner!
Table of Contents
1. Why Restore a Vintage Lamp?
2. Tools and Materials You’ll Need
3. Step 1: Cleaning Your Vintage Lamp
o Removing Dust and Dirt
o Cleaning Different Materials (Brass, Glass, Porcelain, etc.)
o Polishing and Finishing
4. Step 2: Rewiring the Lamp
o Identifying Wiring Issues
o Removing Old Wiring
o Installing New Wiring and Socket
o Safety Checks
5. Pro Tips for a Successful Lamp Restoration
6. FAQs on Vintage Lamp Restoration
1. Why Restore a Vintage Lamp?
Restoring an old lamp isn’t just about aesthetics—it’s about preserving history while making it functional and safe. Here’s why restoration is worth the effort:
· Sentimental Value: Family heirlooms deserve proper care and preservation.
· Unique Design: Vintage lamps often feature craftsmanship and details you won’t find in modern designs.
· Eco-Friendly: Restoring and reusing old lamps reduces waste and promotes sustainability.
· Cost-Effective: A restored vintage lamp can be much cheaper than buying a high-end replica.
2. Tools and Materials You’ll Need
Prior to starting, collect the required tools and materials:
Cleaning Supplies:
✔ Soft cloths
✔ Mild soap and water
✔ Brass or metal polish (if needed)
✔ Cotton swabs for detailing
✔ Glass cleaner (for glass parts)
Rewiring Tools:
✔ New lamp cord and plug
✔ New socket (if needed)
✔ Wire cutters/strippers
✔ Electrical tape
✔ Screwdriver
✔ Voltage tester (for safety checks)
Now that you have everything ready, let’s start with cleaning!
3. Step 1: Cleaning Your Vintage Lamp
Cleaning a vintage lamp depends on its material. Let’s break it down step by step:
Removing Dust and Dirt
1. Unplug the lamp (if it’s still wired).
2. Use a soft cloth to wipe off dust.
3. For delicate detailing, use a small brush or cotton swabs.
Cleaning Different Materials
· Brass or Metal: Use a gentle brass polish to restore shine.
Avoid using abrasive cleaners that could damage the patina.
• Utilize a glass cleaner for cleaning glass or crystal surfaces and dry them with a microfiber cloth.
· Polishing and Finishing
· Apply a protective wax for metal parts to prevent future tarnishing.
· Buff gently with a dry cloth for a lasting shine.
Once your lamp is clean, it’s time to tackle the wiring!
4. Step 2: Rewiring the Lamp
If your vintage lamp has frayed or outdated wiring, replacing it is crucial for safety. Follow these steps:
Identifying Wiring Issues
· Look for cracked, frayed, or brittle wires.
· Check if the plug is damaged or outdated (two-prong plugs may need upgrading to three-prong for safety).
Removing Old Wiring
1. Unscrew the base or remove the bottom felt cover to access the wiring.
2. Disconnect and remove the old socket and wires.
3. If the socket is faulty, substitute it with a new one.
Installing New Wiring and Socket
1. Thread the New Cord: Insert the new cord through the lamp base and up to the socket.
2. Connect the Wires: Most lamp wires are color-coded:
o The smooth wire connects to the brass screw (hot).
o The ribbed wire is attached to the silver screw (neutral).
3. Secure the Socket: Tighten the socket and test the connections.
4. Attach the Plug: If replacing the plug, attach the wires as per the manufacturer’s instructions.
Safety Checks
· Use a voltage tester to ensure there’s no short circuit.
· Connect the lamp to a power source and try it out with a light bulb.
· If everything works fine, reassemble the lamp!
5. Pro Tips for a Successful Lamp Restoration
Use vintage-style cloth-covered wire to maintain authenticity.
Consider an LED bulb to reduce heat and protect antique materials.
Label your parts as you disassemble the lamp to make reassembly easier.
If unsure about wiring, consult a professional electrician.
6. FAQs on Vintage Lamp Restoration
Q1: How do I know if a vintage lamp is worth restoring?
If the lamp is in good condition, features an interesting design, or carries sentimental significance, it is worth rehabilitating.
Q2: Can I use modern wiring on an antique lamp?
Yes! Modern wiring ensures safety while maintaining the lamp’s functionality.
Q3: What should I do if my lamp has rust?
Use a rust remover and gently sand the area before applying a protective coating.
Q4: Can I change the lamp’s color or finish?
Yes! You can repaint metal parts or refinish wood bases to match your decor.
Conclusion
Restoring a vintage lamp can be a rewarding DIY project that breathes new life into old treasures. With proper cleaning and safe rewiring, you can enjoy a beautiful, functional piece of history in your home.
So, grab that old lamp, follow these steps, and create a stunning restored masterpiece!
Have a vintage lamp you’re restoring? Share your experience in the comments below!


