
Upcycling Old Furniture for Cost-Effective Vintage Decor Ideas
Introduction
Upcycling old furniture is an exciting and cost-effective way to create a vintage-inspired home. Whether you’re a fan of shabby chic, rustic, or mid-century modern styles, transforming old furniture allows you to add character and charm to your space without breaking the bank. With a little creativity, paint, and some DIY skills, you can give outdated or damaged pieces a new lease on life.
This guide will walk you through the best upcycling techniques, tools you need, and unique ideas to create stylish vintage décor while staying on budget.
Table of Contents
1. Why Upcycling is a Great Idea
2. Essential Tools & Materials
3. Step-by-Step Guide to Upcycling Old Furniture
4. Best Paint Techniques for a Vintage Look
5. Creative Upcycling Ideas for Different Furniture Pieces
6. Where to Find Old Furniture for Upcycling
7. Pro Tips for a Stunning Vintage Finish
8. FAQs on Upcycling Vintage Furniture
9. Conclusion
1. Why Upcycling is a Great Idea
Upcycling furniture isn’t just about saving money—it’s also a sustainable and eco-friendly choice. Here’s why it’s worth considering:
* Cost-Effective: Buying new vintage-style furniture can be expensive. Upcycling helps you achieve the same aesthetic at a fraction of the cost.
* Eco-Friendly: Repurposing old furniture reduces waste and keeps discarded items out of landfills.
* Customizable: You can create one-of-a-kind pieces that perfectly fit your style and space.
* Sentimental Value: Instead of discarding heirloom or inherited furniture, upcycling lets you preserve its history with a fresh look.
2. Essential Tools & Materials
Before you start upcycling, gather these essential tools and materials:
* Sandpaper or electric sander – To smooth surfaces and remove old paint or varnish.
* Primer and paint – Chalk paint or milk paint work great for a vintage look.
* Paintbrushes & rollers – For applying paint and sealers.
* Wood filler & putty knife – To repair dents or cracks.
* New hardware—Knobs, handles, and hinges can refresh an old piece.
* Sealant or wax – To protect the finish and enhance durability.
* Fabric & upholstery tools – For reupholstering chairs or benches.
3. Step-by-Step Guide to Upcycling Old Furniture
Step 1: Choose the Right Piece
Start with a structurally sound piece that has good bones. Look for wooden furniture with minimal damage, as it’s easier to restore.
Step 2: Clean and Prep
Remove any dust, dirt, or grease using a mild soap and water solution. If the furniture has old paint, sand it down for a smooth surface.
Step 3: Make Necessary Repairs
Fill in cracks or holes with wood filler, tighten screws, and replace missing parts.
Step 4: Prime the Surface
A good primer helps the paint adhere better and prevents stains from seeping through.
Step 5: Apply Paint or Stain
Use chalk paint for a vintage matte finish, or stain the wood for a rustic look. Apply multiple thin coats for the best results.
Step 6: Add Finishing Touches
Replace old handles and knobs, or even add stencils or decoupage designs for a unique touch.
Step 7: Seal for Protection
Use a clear wax or polycrylic sealer to protect the finish and enhance durability.
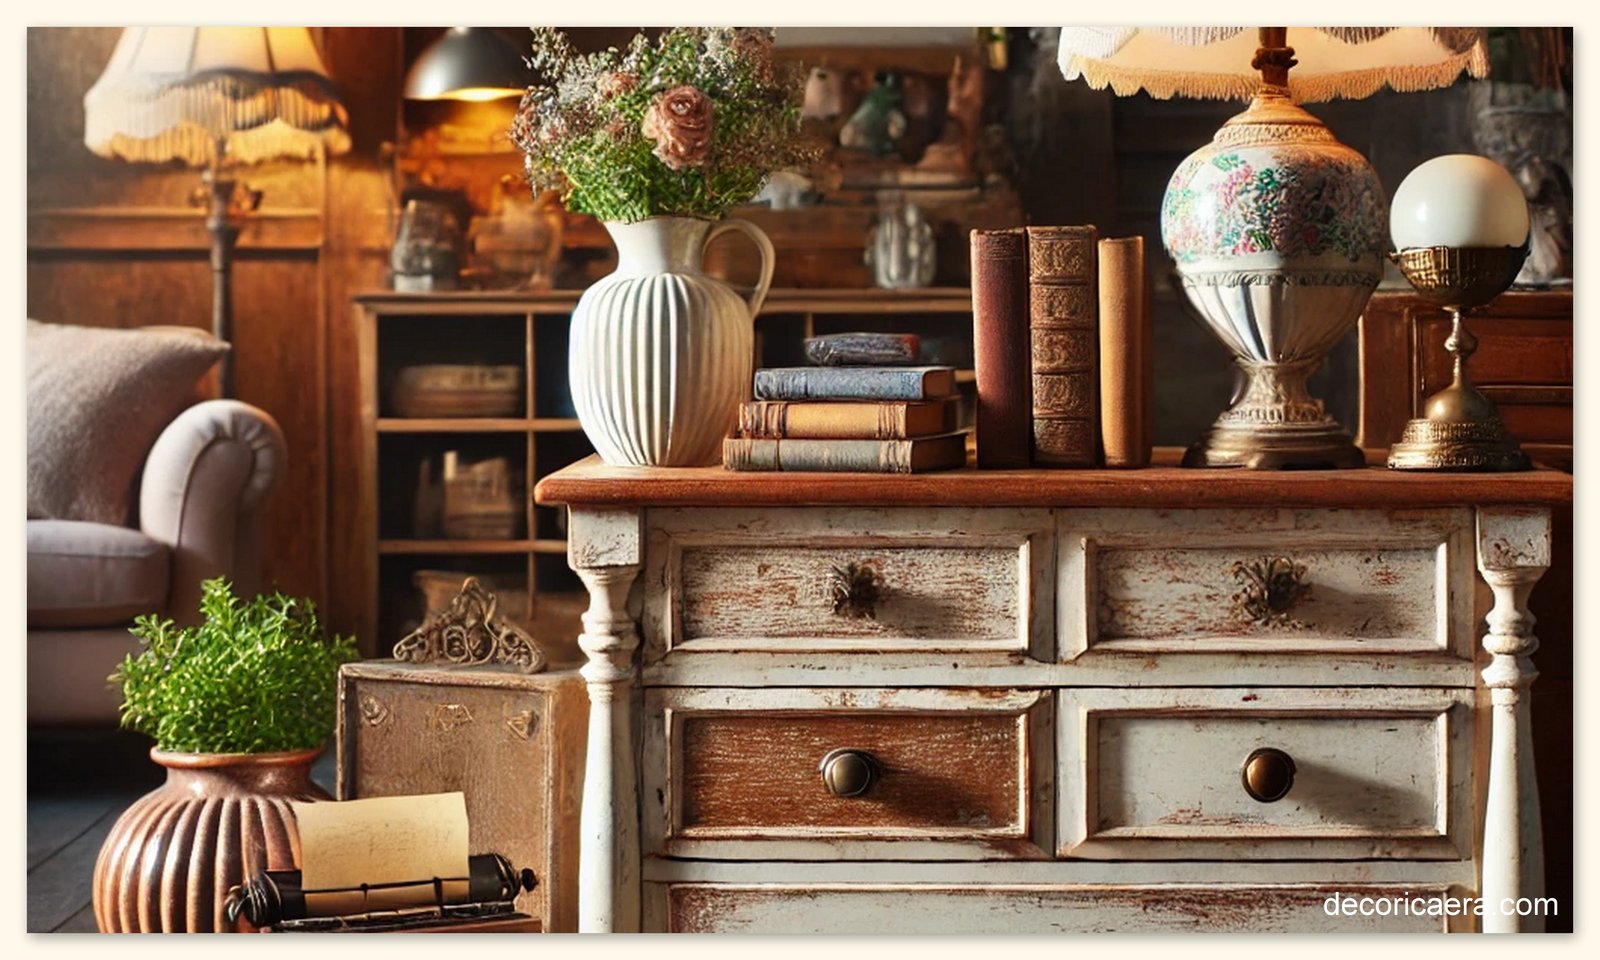
4. Best Paint Techniques for a Vintage Look
* Distressing: Sand the edges after painting to give a worn-out, antique look.
* Whitewashing: Diluted white paint allows the wood grain to show through, creating a soft, aged effect.
* Two-Tone Painting: Use two different colors and sand lightly to expose layers for a vintage feel.
* Stenciling & Decoupage: Adding patterns or floral designs enhances the vintage aesthetic.
5. Creative Upcycling Ideas for Different Furniture Pieces
* Dressers → Vintage Buffets: Remove some drawers, add shelves, and paint in pastel shades for a charming buffet table.
* Chairs → Plant Stands: Remove the seat, add a planter, and use it as a quirky garden feature.
* Coffee Tables → Upholstered Benches: Add cushioning and fabric to turn an old table into a stylish bench.
* Old Doors → Headboards: A beautifully painted or distressed door can make a stunning bed headboard.
* Suitcases → Side Tables: Stack vintage suitcases and secure them for a retro-inspired bedside table.
6. Where to Find Old Furniture for Upcycling
Wondering where to score budget-friendly furniture for your projects? Here are some great places to look:
* Thrift Stores & Flea Markets – Great for finding hidden gems at low prices.
* Garage Sales & Estate Sales – Often offer vintage furniture at bargain prices.
* Online Marketplaces – Facebook Marketplace, Craigslist, and eBay have tons of second-hand pieces.
* Curbside Finds—Sometimes, people throw out solid furniture—check your neighborhood on bulk trash days!
7. Pro Tips for a Stunning Vintage Finish
* Use Quality Paint—Cheap paint may peel or chip quickly. Invest in good chalk or milk paint.
* Experiment with Hardware—Vintage-style knobs or handles can transform an ordinary piece into something special.
* Layer Paint for Depth – Adding different shades and lightly sanding between coats can create a rich, aged effect.
* Think Beyond Paint—Fabric, wallpaper, or gold leaf accents can elevate a piece’s vintage appeal.
8. FAQs on Upcycling Vintage Furniture
Q: What type of paint is best for a vintage look?
Chalk paint and milk paint are ideal for achieving a distressed, antique-style finish.
Q: Can I upcycle laminate furniture?
Yes! Just sand it well and use a high-quality primer before painting.
Q: How can I make furniture look older?
Techniques like distressing, whitewashing, or using antiquing wax can create an aged look.
Q: Is upcycling furniture hard for beginners?
Not at all! Start with small projects like a nightstand or chair before moving to larger pieces.
Conclusion
Upcycling old furniture is a rewarding and cost-effective way to bring vintage charm into your home. With the right tools, techniques, and creativity, you can transform worn-out pieces into stunning focal points. Plus, it's an eco-friendly way to decorate while keeping costs low!
Are you ready to start your next upcycling project? Feel free to share your creations and thoughts in the comments!
Would you like any additional styling tips or a step-by-step DIY guide for a specific piece?


